Με την κυκλοφορία του iOS 9, οι χρήστες έχουν ένα μεγάλο "όπλο" στα χέρια τους για να το διαχειριστουν όπως οι ίδιοι νομίζουν. Τη δυνατότητα εγκατάστασης 3rd party εφαρμογών - εκτός του οικοσυστήματος του App store - ακόμη και σε μη-jailbroken συσκευές!
Το μόνο που χρειάζεστε είναι ένας Mac, το Xcode 7 (δωρεάν από το Mac App store), ένα developer account και η iOS συσκευή που θα γίνει η εγκατάσταση της εφαρμογής.
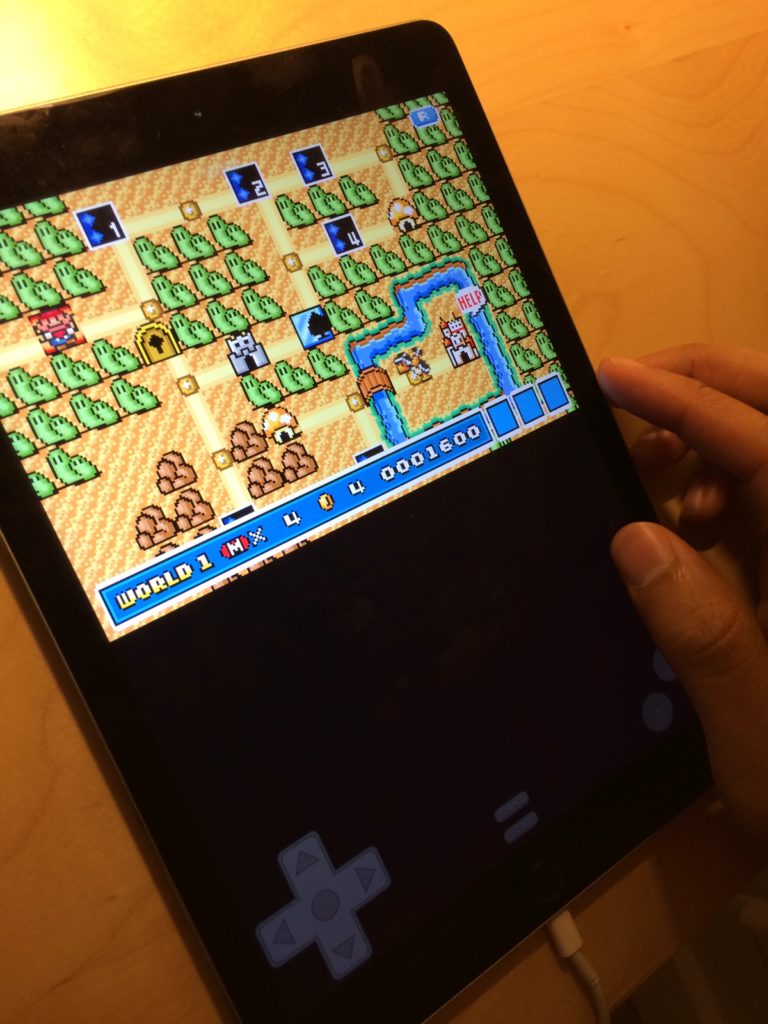
Στον παρακάτω οδηγό του iDownloadblog θα δείτε πως μπορείτε να εγκαταστήσετε τον multi-emulator Provenance (Genesis / Mega Drive, Master System, MegaCD, Game Gear, NES, SNES, Gameboy / Gameboy Color, Gameboy Advance) σε μία iOS συσκευή που δεν είναι Jailbroken:
Step 1: Download Xcode 7 from the Mac App Store.
Step 2: Launch Xcode 7, click Agree, and wait for it to finish installing components.
Step 3: Find the code the you wish to compile (usually on GitHub). In this case, we’re using Provenance.
Step 5: Copy the HTTPS clone URL. In Provenance’s case, it’s https://github.com/j.../Provenance.git
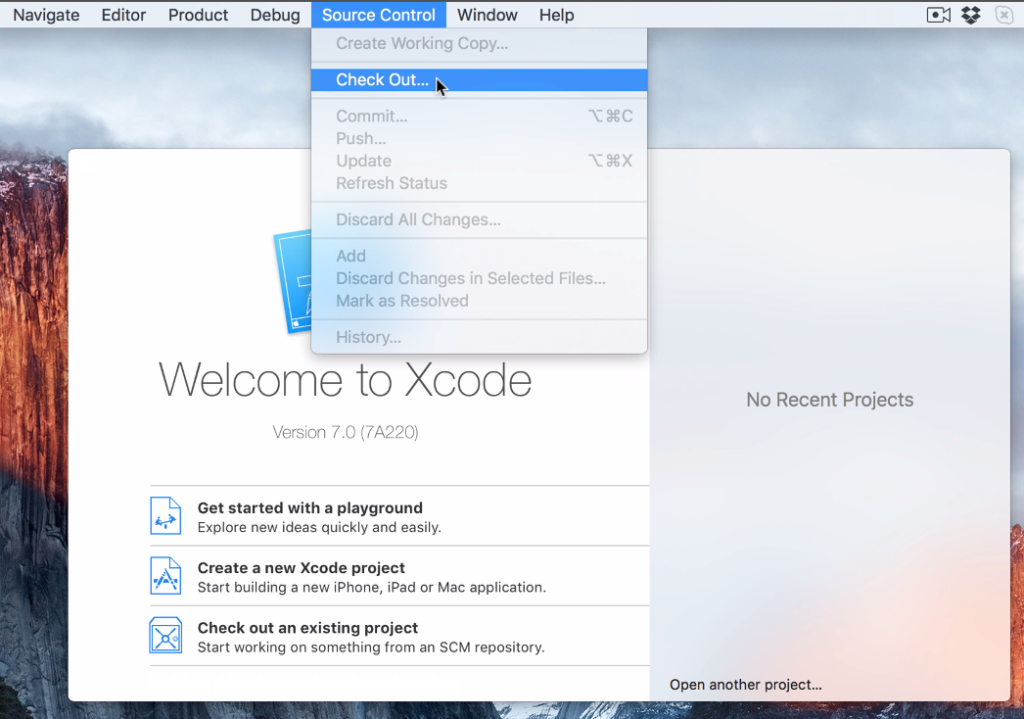
Step 6: Inside of Xcode 7, click Source Control in the menu bar and click Check Out.
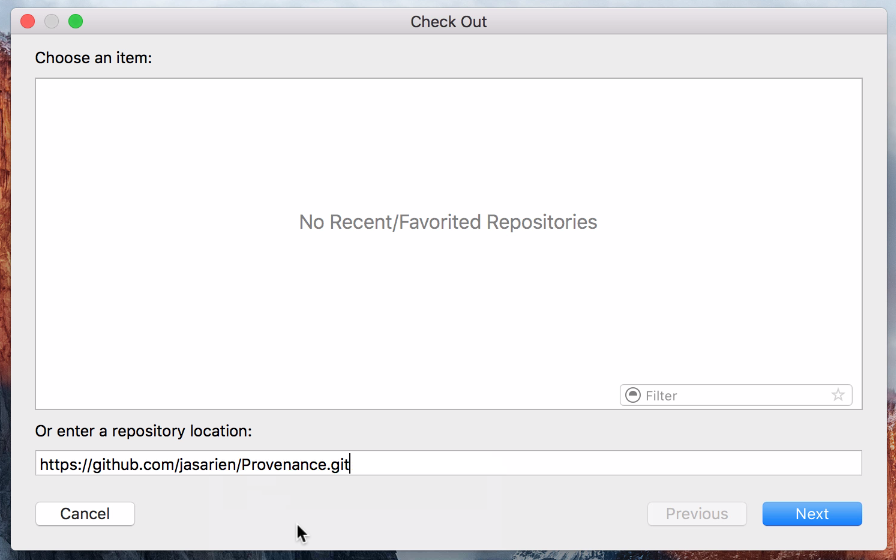
Step 7: In the repository location box, paste the HTTPS clone URL from Step 5 and click Next.
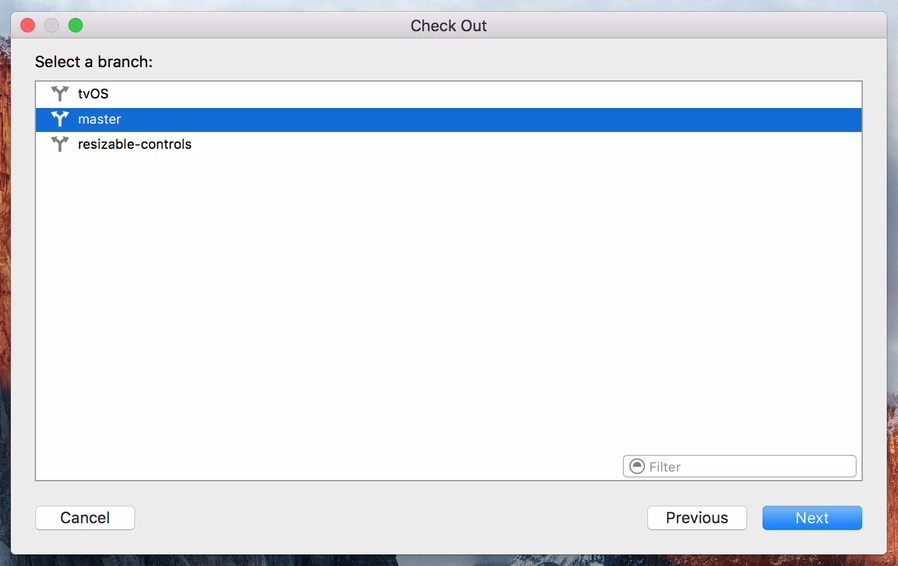
Step 8: Select a branch, in this case Master, and click next. Xcode will then download the source code needed to compile. Depending on the code, this may take a while, so be patient. Once the download is finished, Xcode will open a new project with the source code.
Step 9: Connect your iOS device via USB.
Step 10: In the drop down device selection menu, select your iPad (not a simulator).
Step 11: Wait as Xcode 7 indexes and processes symbol files. This may take a while as well, so be patient. Once complete, the status will say Ready.
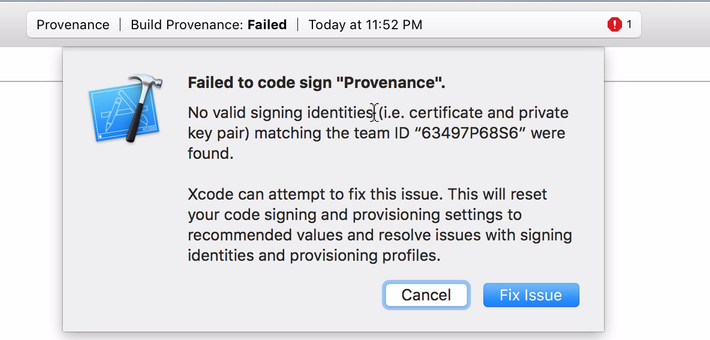
Step 12: Click the Play button. You’ll likely get an error that says “failed to code sign”. That’s okay. Click Fix Issue and click Add to log in with your developer account. Remember, you don’t need a paid developer account, but you will need a free developer account (Apple ID).
If you don’t have a developer account, create one by clicking Join a Program instead.
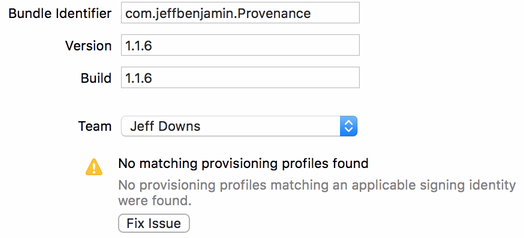
Step 13: Once you log in, click the Play button again to proceed with the compile. You may receive another error that says An App ID with Identifier…is not available. Please enter a different string. To fix this, click the General tab, and give the Bundle Identifier a unique name (delete the name between the two dots and add your own name. Leave the prefix and suffix as is).
Step 14: Click the Play button once more. The compile should complete, and you’ll see the app that you compiled appear on your iOS device’s Home screen.
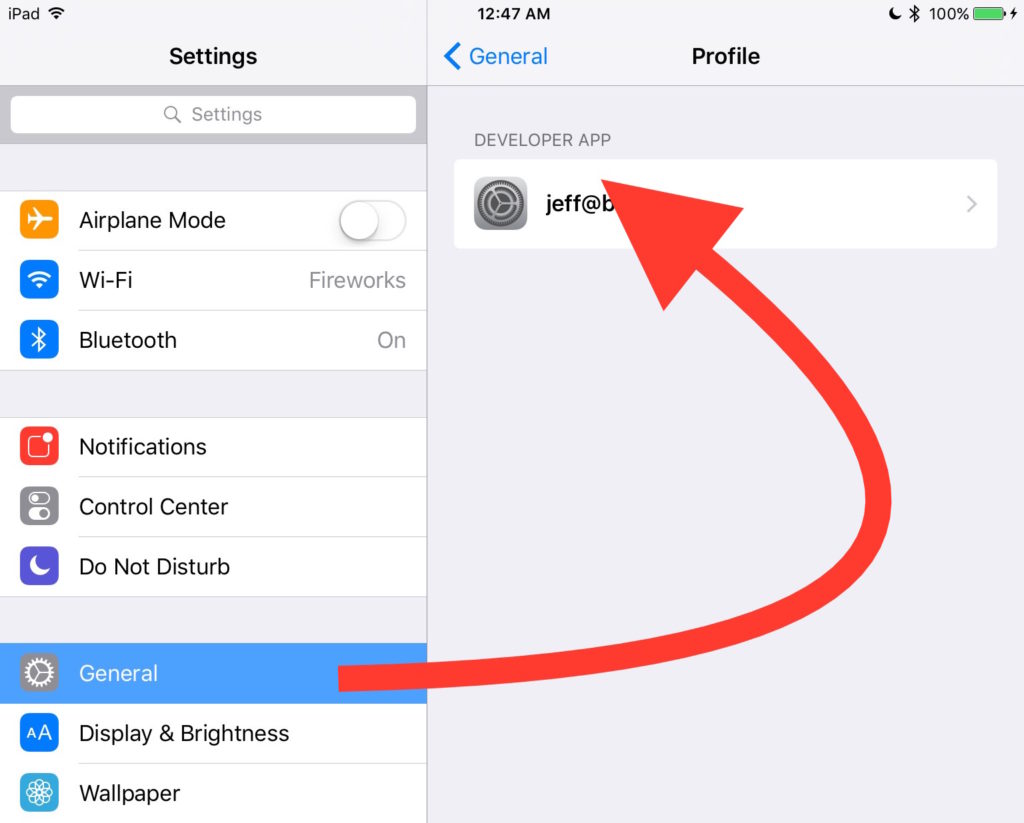
Step 15: You’ll need to enable access to the app by trusting the developer on your iOS device. This can be done by going to Settings → General → Profile and tapping on the Developer app and granting access.
Step 16: Launch the app on your Home screen, and iOS should allow you to use it.
